We’ll walk you through how Liquid helps you create Purchase Orders, which can be used with non-Service Vendors or with Service Vendors.
The steps are to:
- Create a Purchase Order
- Define Items for your Purchase Order
- Choose the Hiring Manager
- Send your Purchase Order
You can also view a video walking you through creating a Purchase Order.
Create a Purchase Order
When creating a Purchase Order, you can only send the Purchase Order to an existing non-Service Vendor or an existing Service Vendor (Vendor who has accepted your invite to Liquid or a Vendor whom you have invited to Liquid). If you would like to send a Purchase Order to a new Vendor, send them an invite first.
Start by selecting the Purchase Orders section from the left menu options to begin setting up a new Purchase Order (PO):
- Click the + Purchase Order button on the upper-right side.
- Select the name of the non-Service Vendor. If the non-Service Vendor has not been invited to Liquid, you can press Please invite them now to switch to the workflow for inviting a Vendor.

- Next, you’ll need to name the Purchase Order. The name should be short and descriptive, like “Computers.”
Define Items for your Purchase Order
Within one Purchase Order, you can create multiple items. For each item, you'll add a title, quantity, and price per item.
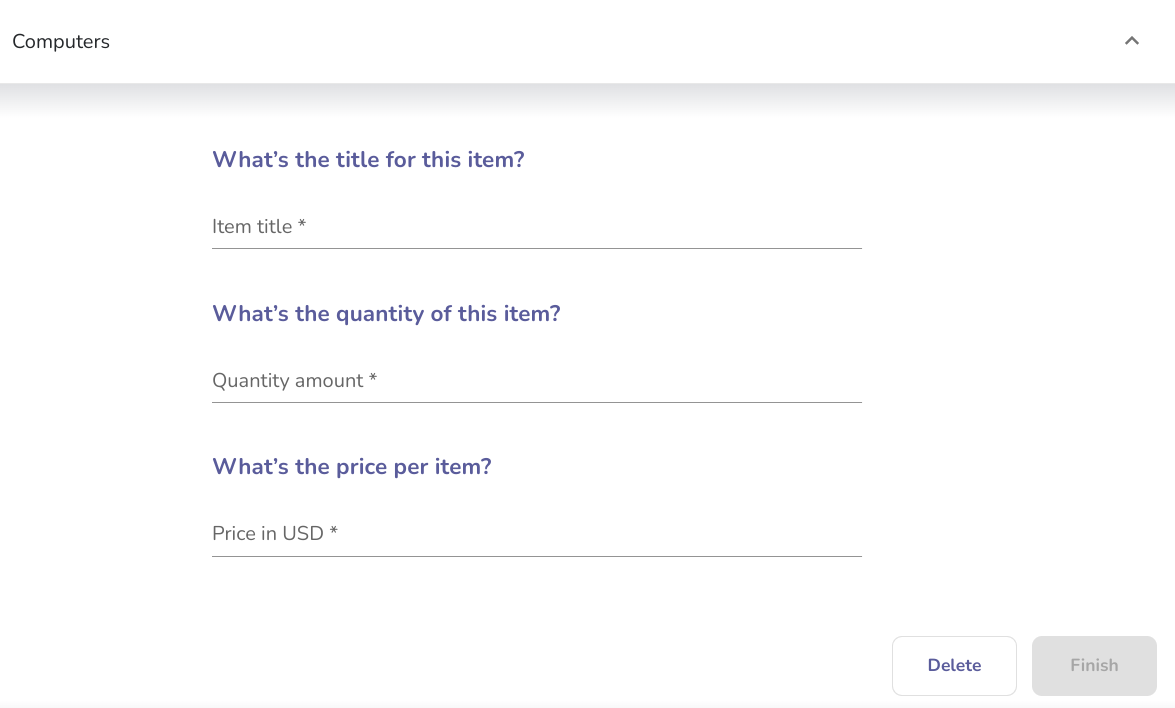
Make sure to press Finish after adding the first item.
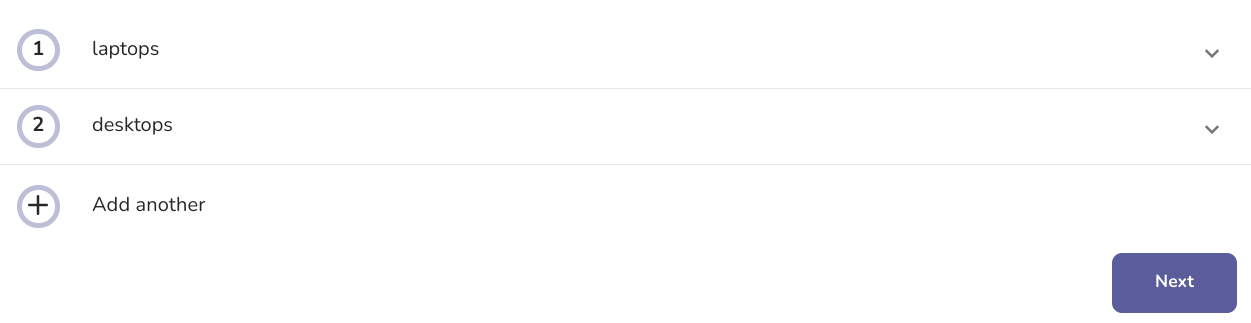
If you'd like to add another item to the same Purchase Order, you can press Add another. Repeat until all items have been added.
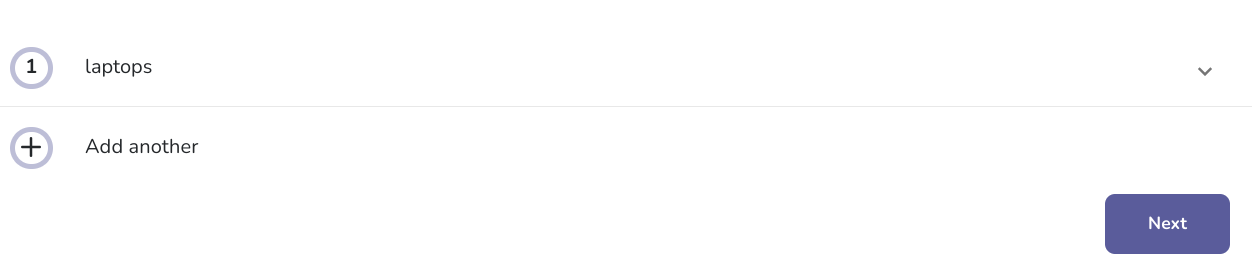
Once you are done adding items, press Next.
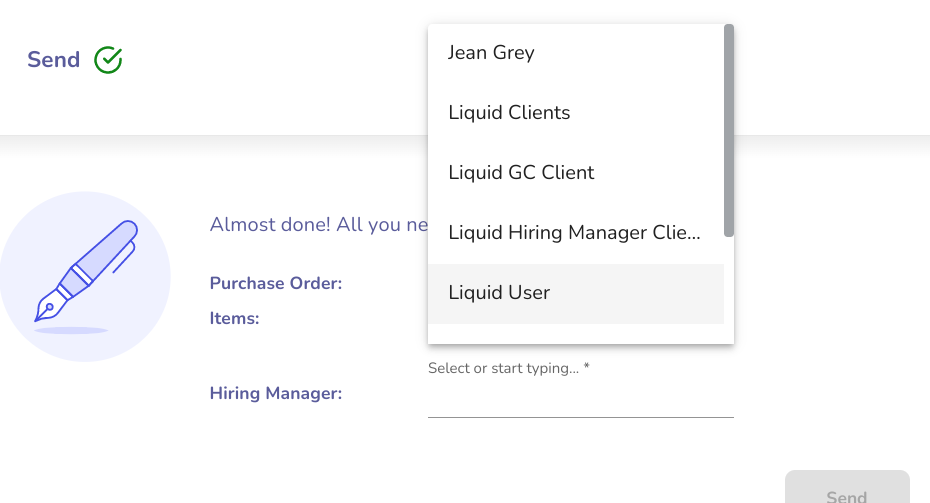
Choose the Hiring Manager
In the final step before sending your Purchase Order, you can set the Hiring Manager for this Purchase Order. By default, it should show the Hiring Manager for the non-Service Vendor. If you'd like to keep the existing Hiring Manager assignment, you simply leave the field as is.
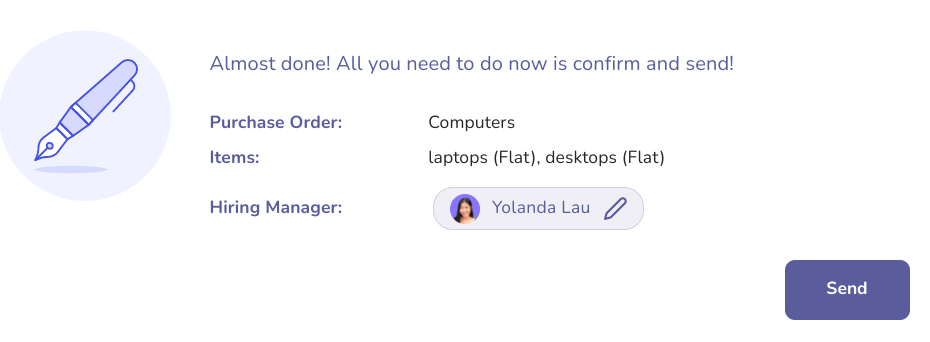
If you would like to change it, you press the pencil next to the Hiring Manager's name to bring up a drop down menu of users on your account. Select the name of the person you would like to be the Hiring Manager for that Purchase Order.
Send your Purchase Order
All that’s left to do now is to send your Purchase Order to your Vendor. Press Send to deliver your Purchase Order. From there, your vendor can choose to accept certain items individually.
Once the Vendor accepts, either the Vendor or the Client can create the Invoice for this Purchase Order.